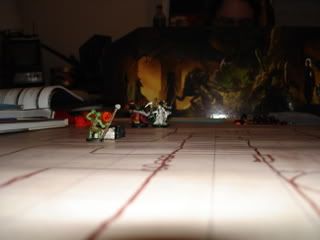
After dispatching the goblins in the first room, the party moved through the doors to the east. The rogue scouted ahead, after having her dagger lit with the Zath's light spell. As she moved through the second set of double doors, the stench of death hit her. Down the hall she clearly heard some groaning sounds, and possibly some scratchy whispering in goblin. She stealthily scouted ahead and verified that there were zombies behind a portcullis to the west and stone door to the east. The halfling returned to the party to warn them of the dangers ahead.
Hearing that there was something to destroy, Grahlok charged down the hallway, with the rest of the party close behind.
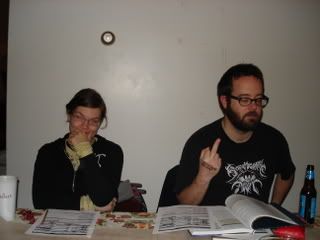
Dave responds to criticism of his "tactical plan".
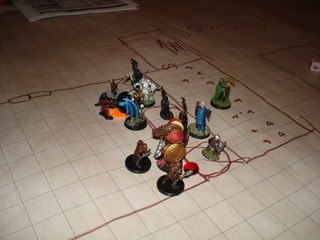
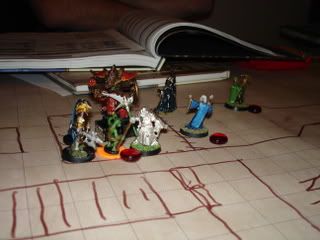
Shortly after the melee begins, the party is attacked by a pair of goblins, a skullcleaver and a blackblade, from the eastern room. The skullcleaver deals some damage while the blackblade shifts into a more favorable position, dealing sneak attack damage.
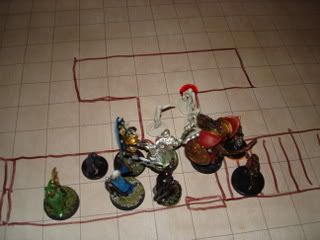
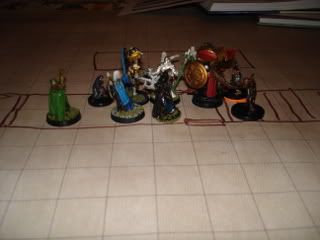
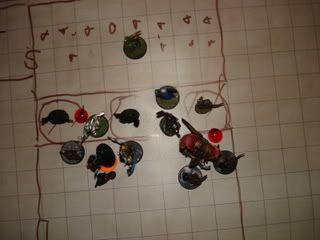
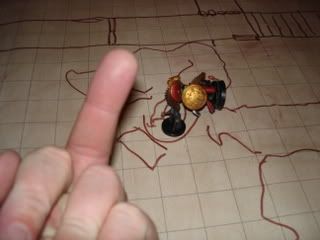
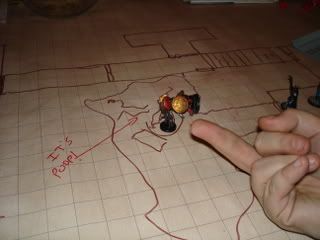
Two different angles of about the same moment of combat. The goblins are to the right, zombies to the north.
The party took care of the treat with little difficulty and searched the zombie haven and the sanctuary. They discover a variety of coins in the zombie refuse. In the sanctuary, there is a large dirt covered statue, which is identified as the Ogre King. It appears to be recently unearthed. On the marble stand was a ruby and a potion of healing, left by the goblins as an offering.

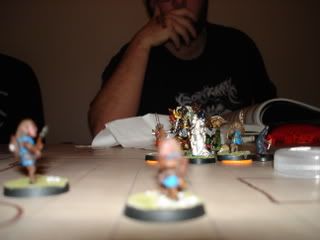
Brad and Allen prepare for the next encounter.
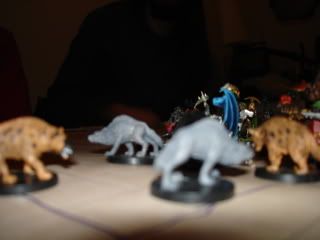
Again the rogue takes the lead as the party passes through a few more doors. They come to another large room with 2 Hobgoblin Soldiers, 2 Hobgoblin Archers, and a Goblin Hexer. The hexer is concentrating a transportation circle located nearby. After the first round of combat 2 Goblin warriors appear from the circle.
The party takes a significant amount of damage, as the dice just didn't seem to be on their side. Various members of the party were blinded or held in place by the hexer's spells and the archers were able to lay down significant damage. Eventually the party is successful, and searches the area. The room to the south is filled with refuse, goblin excrement, dingy straw mattresses, and other garbage. Amongst the trash, the party discovers Fortification Scale Armor [+1], 2 gold rings inset with gems (30 gp each), 1 Silver Statuette (75 sp), 70 cp, 2 50' lengths of rope, 15 torches, + 1 moonstone (100 gp).

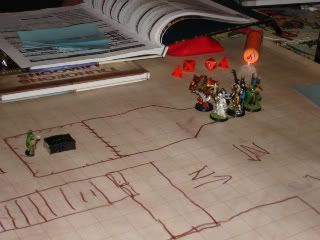
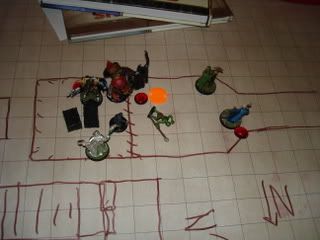
Before the Goblins warriors arrive!
The Archer's point of view.
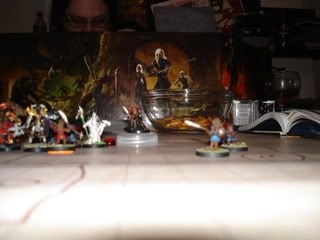
The DM plotting the player's demise.
The party were able to hold off the threat, but decided it would be in their best interest to rest here, as most of were running out of healing surges. The hole up in the goblin den.
Some scatological humor in the goblin den at the expense of the the missing players.
After resting for the evening, the party embarks deep into the barrow. They descend through the ancients catacombs, most of which have been destroyed by the goblins, the dwarven remains ransacked. After descending about 100 feet, the party steps into the Tomb of the Ogre King. High Shaman Sancossug is standing over a large sarcophagus reciting prayers when the party enters. The mud covered goblin demands to know who they are and how they got there. He notices that the rogue is wielding the Horn Totem and insists on it's return.
The party enters the tomb of the Ogre King!
The party refuses and melee ensues. The odds are not good for the High Shaman, but he is able to lay down a significant amount of damage. Sancossug is a much more powerful version of the hexer.
View from behind the Shaman.
He is able to blind about half the party on his first attack. He also uses a stinging cloud attack and a fire attack on the members of the party that are still bunched together.
The Hexer is surrounded.
The party members expend most of their dailies and encounter powers and eventually drop the shaman.
The open the sarcophagus and discover the remains of a large ogre. The skull has been fashioned into a mace-like weapon known as the Skull Totem. It has similar properties to the Horn Totem. They also find 118 gp, 41 sp, 30 cp in a pouch on the corner of the room.
Commentary:
The party successfully beat their first major foe and found some fairly valuable treasure in the process. It seems that most of the players are getting more comfortable with the combat mechanics. Since this adventure was very light on the roleplaying and very heavy on combat, we were able to get through three encounters, which I felt was pretty good in just under 4 hours, considering one of them was a "boss battle".
XP: 370
Treasure: 163 gp, 98 sp, 120 cp, 2 gold rings inset with gems (60 gp), 1 Silver Statues (75 sp), 70 cp, 2 50' lengths of rope, 15 torches, 1 moonstone (100 gp), Potion of Healing (PHB 255); Ruby (100 gp), Fortification Scale Armor +1 (Adventurer's Vault, page 45 (Armor))